


The Windows Update Adventure - Phase 2
- ryan7169
- Jun 4, 2020
- 4 min read
Updated: Jun 8, 2020
Phase 2: Installing Windows 3.1

Cloning the Virtual Machine (VM) (Optional)
If you're intending to keep copies of each OS VM as you go, this section will explain how to copy your MS-DOS VM before you install Windows 3.1. Otherwise, you can skip ahead to the Windows 3.1 Preparation section if you don't intend to have multiple VMs.
To clone your VM:
Make sure your MS-DOS VM is powered off.
Right click your MS-DOS VM.
Select Manage > Clone...
Select The current state in the virtual machine and hit Next.
Select Create a full clone and hit Next.
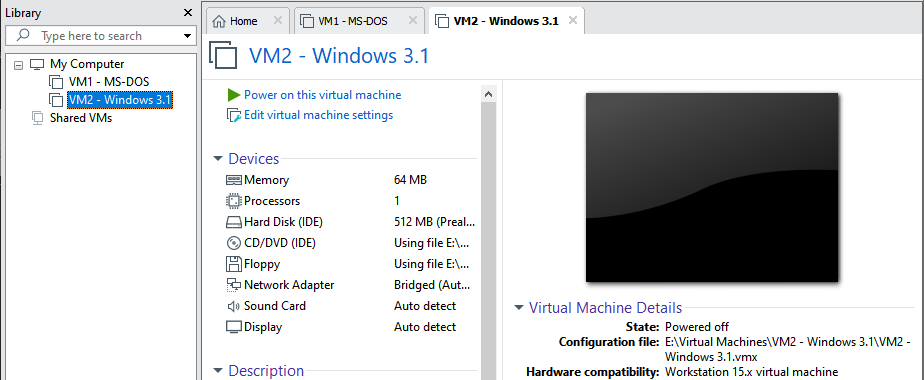
Name your new VM VM2 - Windows 3.1 (or whatever you want to name it) and hit Finish.
Your new VM should now clone. Hit Close to return to the main screen.


Windows 3.1 Preparation
In VMware Workstation with your VM selected, click VM > Settings.
Under Options > General, change the Guest operating system to Microsoft Windows and Version to Windows 3.1. Press OK.


Power on the VM.
Before we can install Windows 3.1 we need to disable the drivers we installed in Phase 1. The reason for this is simply because MS-DOS doesn't have enough memory in order to run the Windows 3.1 installation without us doing so.
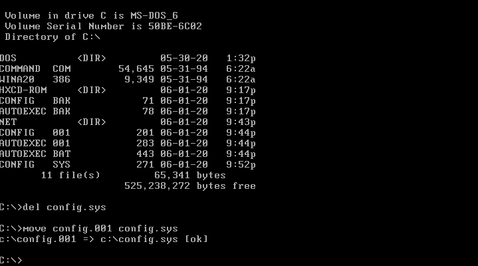
To disable the drivers, we can restore the old AUTOEXEC.BAT and CONFIG.SYS files with the following commands:
del config.sys
move config.001 config.sys
del autoexec.bat
move autoexec.bak autoexec.bat
Reboot the VM.


Installing Windows 3.1
Load up the Windows 3.1 Install Disk #1 floppy and type in the following commands:
A:\
Setup.exe
This will start the Windows 3.1 installation. Install Windows 3.1 by following all of the default settings up until it prompts your after entering Install Disk #3.


It will now present you with a Windows Setup window, asking for your Name and Company (Optional).
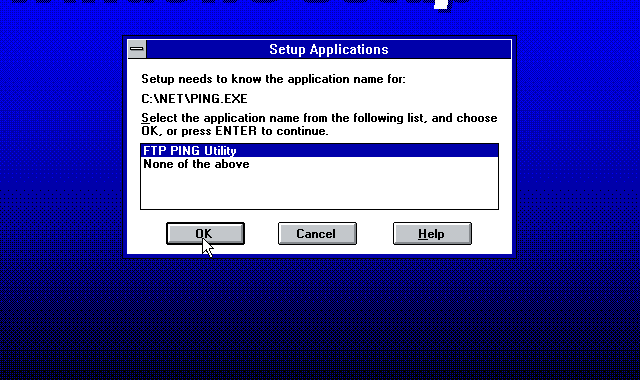
It will continue to prompt for more install disks until eventually asking if you would like to setup applications found from the DOS installation. You can accept the default application names by pressing OK for each.


Afterwards, it will ask if you want to run a tutorial for new Windows 3.1 features. At this point, the installation of Windows 3.1 is complete; however, if you want to learn how to use a mouse that tutorial is here too. :)


When you're done with the tutorials, exit the setup and reboot the VM.
Type in the command win to launch Windows 3.1!


Installing Drivers
We should now start install our missing drivers. These steps are similar to the steps we followed in Phase 1. You can find VMware drivers below:
CD-ROM:
Within Program Manager, start by clicking File > Exit Windows to return to DOS.
Load up the CD-ROM Driver floppy image and launch the CD-ROM driver installer with the following commands:
A:\
Install.exe
Follow the default on-screen instructions and reboot the VM when the installation completes.


Network:
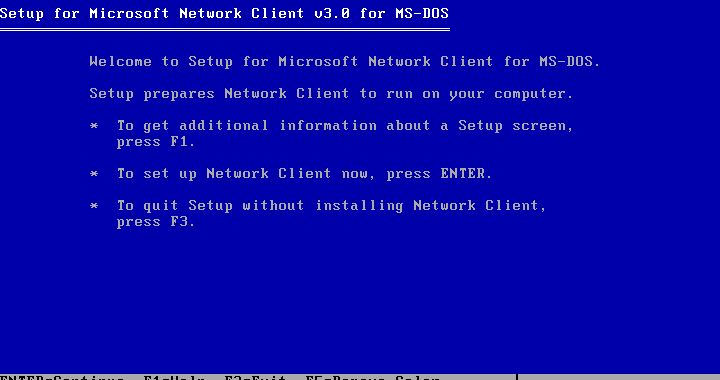
Now that we have a working CD-ROM driver, load up the driver pack ISO and launch the Network adapter driver installer with the following commands:
D:\
cd msclient
setup.exe


Install the network adapter drivers with the following steps below:
Install Directory:
C:\NET
Select an adapter from the list below.
*Network adapter not shown on list below . . .
Please specify the location (path) of the OEM driver you want to use.
D:\AMDPCNET\DOS
Select an adapter from the list below.
Advanced Micro Devices PCNET Family
Press Enter to setup for best performance.


User Name:
WINDOWS3_1 (or whatever you want to call this computer)
Select Change Network Configuration and press Enter.
Select Add Protocol and press Enter.
Select the protocol used on your network.
Microsoft TCP/IP


Press TAB and select NWLink IPX Compatible Transport
Press TAB and select Remove and press Enter.
Press Enter to confirm network configuration is correct.
Press Enter to confirm the listed options are correct.
OEM Driver Disk location (path)
D:\MSCLIENT
Press Enter to reboot the VM and complete the network adapter installation.


Sound Card:
Next, we should get our sound working. Load up the driver pack ISO and launch the sound card driver installer with the following commands:
D:\
cd SB16
Install.exe


Accept all the default settings in the installation wizard. This will install sound drivers for both MS-DOS and Windows 3.1. Reboot after the installation is complete.


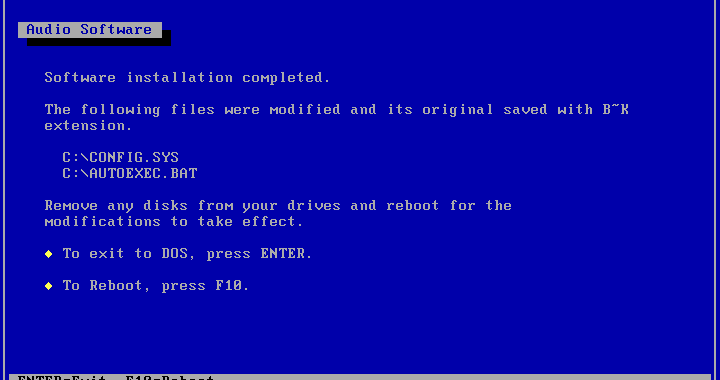
Troubleshooting Remaining Issues
As you'll notice upon startup, we receive the following error after we installed the network adapter driver:
Error 8: There is not enough memory available.This is because by default DOS tries to load all drivers within the first 640KB of conventional memory.
Unlike the steps we did in Phase 1, this time we'll be using a tool that optimizes the memory usage for us. In order to solve this issue, we need to enter the following command:
memmakerPress Enter to continue.
When it asks if you use any programs that need expanded memory (EMS), press the SPACEBAR to toggle your selection to Yes before pressing Enter to continue.
After a couple reboots, everything should load without memory errors.


Finishing Up
Open up Windows 3.1 by entering the win command.
Test your sound settings by opening up Main > Control Panel > Sound.
You can press the Test button to test all the system sounds.

If you'd like, you can also change your colour scheme by opening up Main > Control Panel > Color.
Let's set ours to the infamous Hotdog Stand colour scheme!


Wow....what a look!

Also, we should get our network adapter working in Windows 3.1.
To do so, launch Main > Windows Setup.
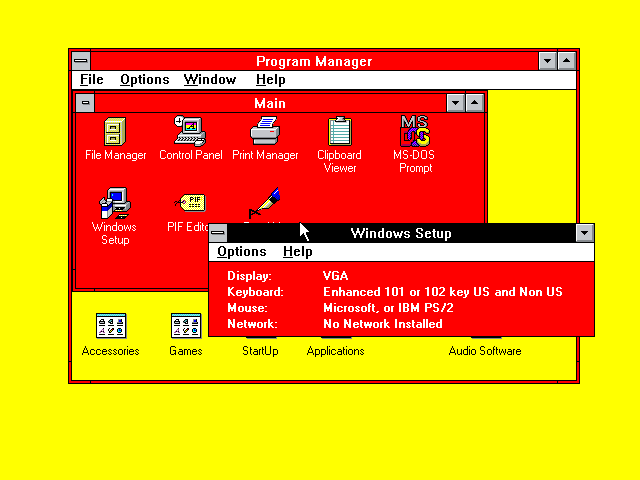
You'll notice it says "No Network Installed".
Click Options > Change System Settings.
Under the Network field, change this to Microsoft Network (or 100% compatible). It may prompt you to enter some Windows 3.1 Install Disks in order to complete the installation.


You can now test your network connectivity by launching Applications > FTP PING Utility.
When the utility launches, enter the following parameters to ping Google DNS 8 times:
8.8.8.8 -n8


Lastly, I kind of wanted to play around with the Paintbrush tool. I know, I'm an artist. :^)


Conclusion
And that's Phase 2 complete!
Next, we'll be performing our first upgrade with Windows 95. Please click the link below for the next phase of our Windows Update Adventure.
Take care!


Comments