


The Windows Update Adventure - Phase 4
- ryan7169
- Jun 12, 2020
- 4 min read
Phase 4: Upgrading to Windows 98
Cloning the Virtual Machine (VM) (Optional)
If you're intending to keep copies of each OS VM as you go, this section will explain how to copy your Windows 95 VM before you install Windows 98. Otherwise, you can skip ahead to the Windows 98 Preparation section if you don't intend to have multiple VMs.
To clone your VM:
Make sure your Windows 95 VM is powered off.
Right click your Windows 95 VM.
Select Manage > Clone...
Select The current state in the virtual machine and hit Next.
Select Create a full clone and hit Next.
Name your new VM VM4 - Windows 98 (or whatever you want to name it) and hit Finish.
Your new VM should now clone. Hit Close to return to the main screen.


Windows 98 Preparation
In VMware Workstation with your VM selected, click VM > Settings.
Under Options > General, change the Guest operating system to Microsoft Windows and Version to Windows 98. Press OK.


Upgrading to Windows 98
Load up the Windows 98 Setup Boot Disk and power on the VM.
The Microsoft Windows 98 Setup wizard should now start. It should prompt that your computer already has an operating system. Feel free to select Continue Setup and replace your current operation system. It will then proceed to ask you to insert the first Setup Disk and perform a system check.


After the system check is performed, the Windows 98 Setup will begin. It will prompt you to insert Setup Disk #2 before asking you to accept the End User License Agreement.


After accepting the End User License Agreement, you will be prompted to enter your product key. Once this is entered, select the default directory to install Windows 98 (C:\WINDOWS).
When prompted if you want to Save System Files, select No.


The installation wizard will now prompt for your location. After selecting, it may complain that it can't write to the floppy disk. You can just cancel out of this.
Next, the Windows 98 Setup wizard will prompt to create a Windows 98 Startup Disk. You can cancel out of this as well.


Now the wizard will start copying files to install Windows 98. It will prompt you one-by-one for each floppy to copy the installation files.
In my example, I happened to use the floppy drive version, which is 38 floppy disks! Just when you think you're done, it goes back to floppy #4 and continues from there. It was a super tedious experience!
Once it's done copying files it will prompt you to remove all floppy drives and restart the computer.


Upon startup you'll be greeted with the new Windows 98 startup screen.
You'll also be greeted with that annoying Sound Blaster 16 error we had in Windows 95. (If I knew how to get rid of it I'd update the guide.)


The installation wizard will now start installing hardware drivers and any Plug and Play devices before restarting again.


The computer will boot up once more and update system settings before rebooting a final time.


Finishing Up
Once the computer has started, you will be prompted for your regular username and password.
The Systray error from Windows 95 caused by our sound driver will display again as usual. We can close out with no worry since our sound still works.


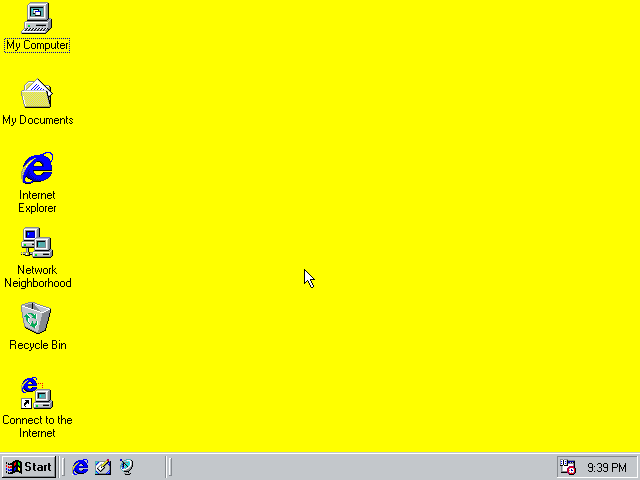
You'll notice that Windows 98 looks very similar to Windows 95. Even our old Hotdog Stand scheme from Windows 3.1 is still here!
Let's test Internet Explorer.
Upon opening you will be prompted with the Internet Connection wizard. Select all the options that say LAN and select No when prompted to configure a proxy server.
The homepage will not load properly because Microsoft no longer hosts it. However, if you go to www.google.ca it will load.


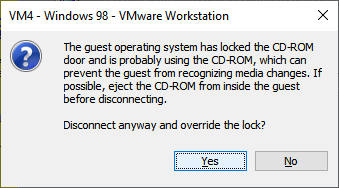
Next, we should install VMware Tools to our VM. In VMware Workstation, select the VM and click VM > Install VMware Tools...
You may get a warning that the guest operating system has locked the CD-ROM door. Click Yes to disconnect anyway and to override the lock.


The VMware Tools installation will now begin. Select the Complete install and click Next.
Agree to any updates the installation prompts for. Once it completes VMware Workstation will likely display the locked CD-ROM door warning again. Just click Yes to override again.
Afterwards, it will prompt to restart the system.


Upon reboot, you'll notice that the resolution has changed and that the icons appear to have more colour. This is because VMware Tools installs the updated SVGA II driver for Windows 98.
To confirm the installation, right click on the desktop and click Properties. This will open the Display Properties window.
If you click the Settings tab you'll notice our resolution is now 800 by 600 pixels, and our colour range has now been increased to True Color (32 bit).


The next thing we should do is update our system hostname. To do so, click Start > Settings > Control Panel > Network.
In the Network configuration window, open the Identification tab.
Set your computer to the following settings:
Computer name:
WINDOWS98 (or whatever you want to name this computer)
Workgroup:
WORKGROUP
Computer Description:
WINDOWS98
Click OK. It will now prompt you to restart your system.


After the computer has restarted, let's verify our network settings are working. Click Start > Run to open the Run window.
Enter command into the Open field and click OK to launch Command Prompt.
Once Command prompt opens you can use the following commands to test your connection to Google DNS and Google.ca:
//Ping Google DNS 8 times.
ping 8.8.8.8 -n 8

//Ping Google.ca a default of 4 times.
ping google.ca


Conclusion
And that's Phase 4 finished!
For the next phase, we'll be performing an upgrade to Windows Me. Please check back later for the continuation of our Windows Update Adventure!
Cheers!
Comentários